SET / DELETE FORM DUE DATE
support for users with a high level of
administrative rights
support for users with a high level of
administrative rights
Set / Delete Form Due Date
Only administrators with specific level rights can set dates on a form.
Set Due Dates
To Access follow the path: Evaluations > ADMINISTRATION > Detail View
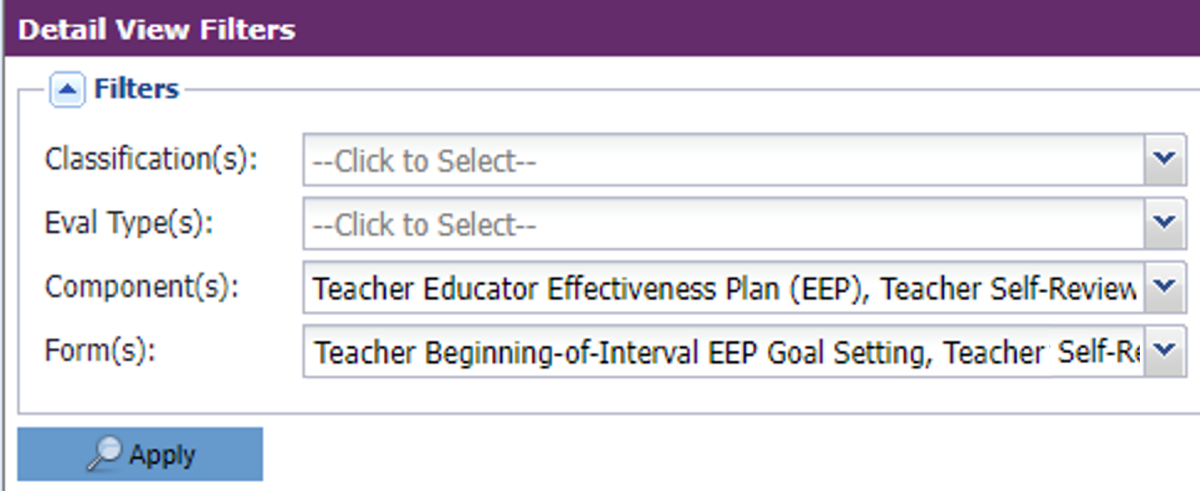
- Filter: Once in Detail View, filter by the drop-down filters at the top of the screen.
- In the drop-down for component(s), be sure to select all the components with the same component name if you have selected multiple evaluation types.
- Select all forms that are to be assigned a due date.
- Select "Apply" button to apply the filters.
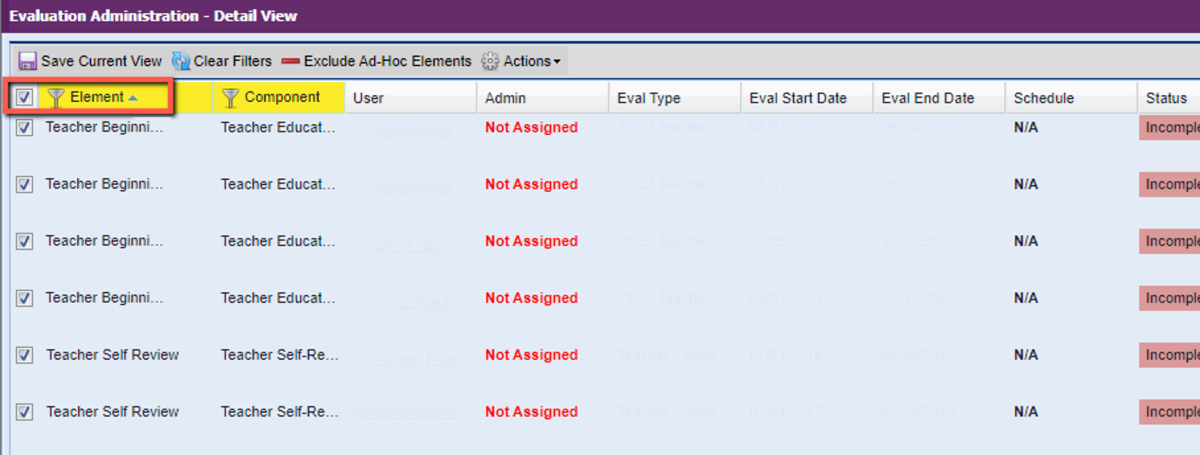
- Select the checkbox(es) next to the forms you wish to assign. If you wish to assign a due date for all forms you filtered for, check the box next to “Element” and all elements will be selected. REMEMBER: If you have more than 50 forms that are selected scroll to the bottom of the page and increase the number of forms to include all forms.
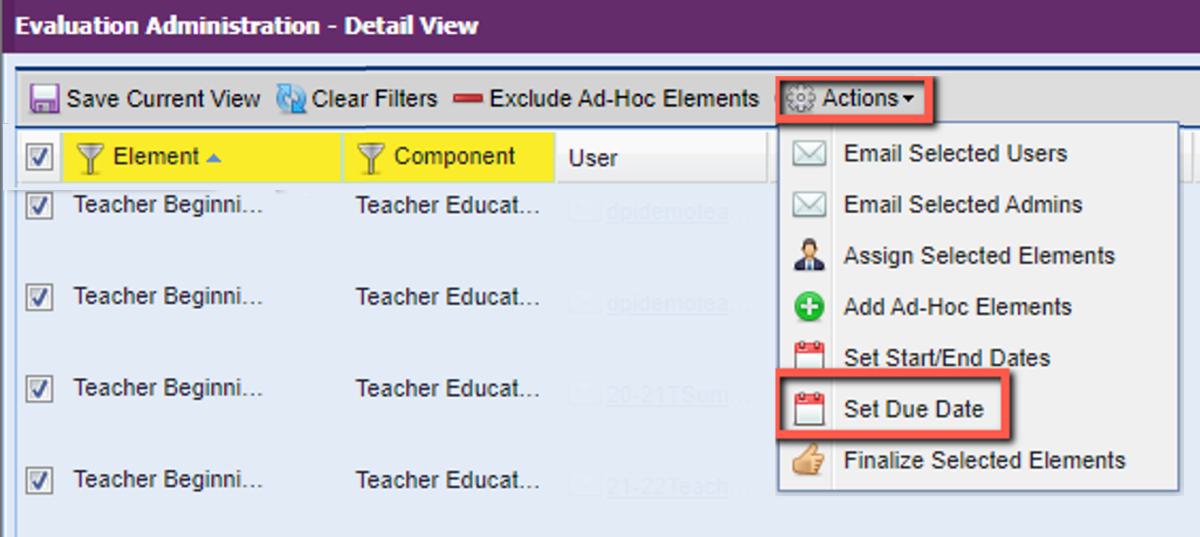
- Once you select the components the “Actions” button will appear. Click on the “Actions” button to display the options and select “Set Due Date.”
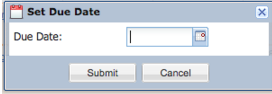
- The "Set Due Date" option will appear. Select the due date for the form from the calendar icon.
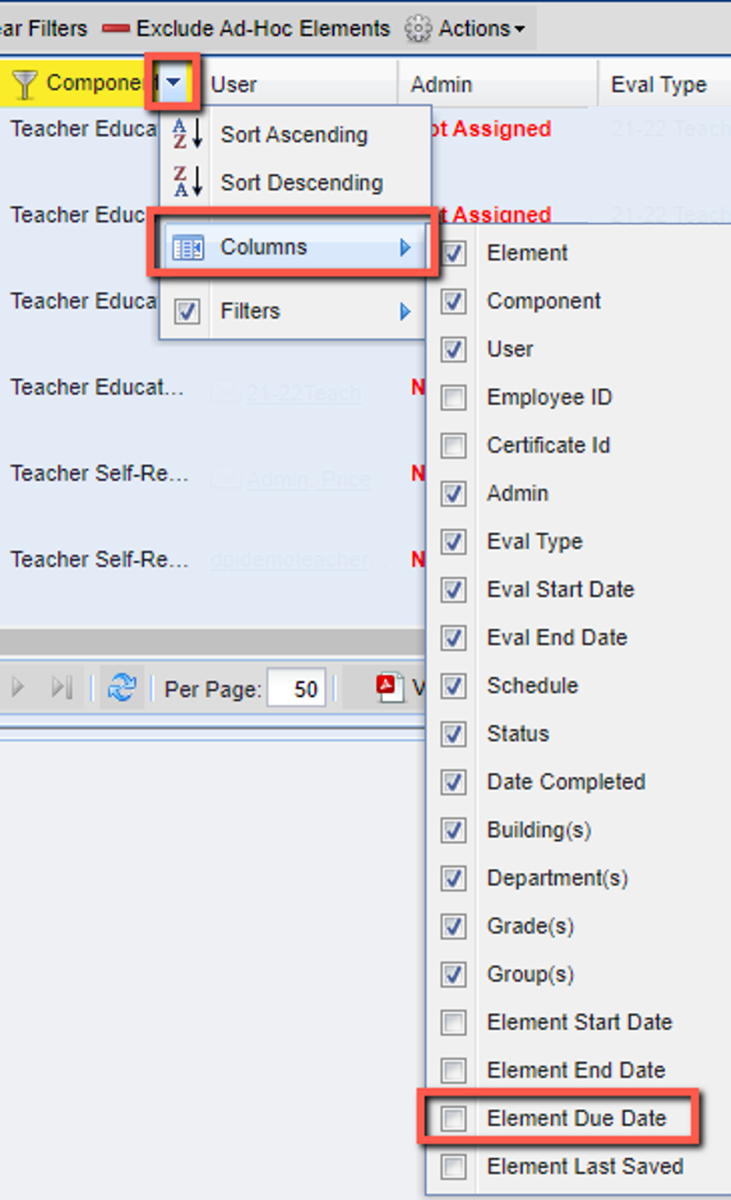
- You can now create a filtered view in the Detail View to see the Element Due Date. This feature is under the column filters list.
- The red exclamation mark will appear in the Process View, Detail View, and Admin View once the due date has arrived. If you hover over the exclamation mark, the due date of the form will display.
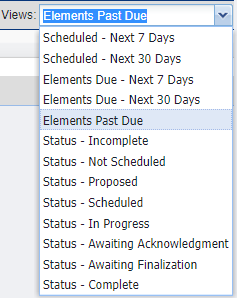
- From the ADMIN VIEW, evaluators can filter for Elements Past Due as long as forms have been assigned. From the Views drop-down, select "Elements Past Due". Forms that are past due then appear in the list below.
- On the user’s dashboard, a red exclamation mark will appear once the due date has arrived. Hovering over the red exclamation mark will indicate the due date of the form as well as the date identified within the actionable component.
NOTE: Please remember that the due date will need to be changed, if appropriate, on an annual basis.
Delete Due Dates
To Access follow the path: Evaluations > ADMINISTRATION > Detail View
- Use the drop-down arrow under any column. Scroll to the "Columns" fly-out. Scroll down to the "Element Due Date" and be sure the box is checked. Once checked, that column should appear. If it does not, uncheck some columns you don't need. This will allow for additional columns to be added and viewed.
- If elements have due dates, they will appear in this column.
- Select the records that need their due date "removed".
- Under the "Actions" drop-down, select "Set Due Date". Leave the date blank and click Submit. This will delete the due date.