support for users with a high level of
administrative rights
Add a New User / Edit an Existing User
User had an account in a previously employing district? If the user is new to your district/independent charter but had an account in a previous district, they will need to create a new account. User accounts do not transfer between districts.
Steps:
Create a New User / Edit Existing User Information
Assign the Evaluation Type
Assign Evaluation Rights
Is the New User an Administrator?
Send an Invitation
Create a New User / Edit Existing User Information
Access Path: Administration > PG User Info
- Select "Add a New User"
- Complete the following fields:
User Info
First Name
Last Name
Email Address
User Configuration
- Instructor Rights: Leave "No" - does not affect evaluations
- District Administrator: Select "Yes" only if user will be an "evaluator" in the system.
- Active Employee: Select "Yes"
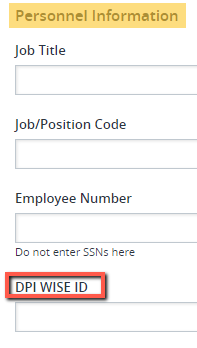
Personnel Evaluation
Only "DPI WISE ID" information is needed.
Building(s): Select appropriate building(s)
Department(s) / Grade(s) / Group(s): Complete if appropriate
Select "Submit" to create the account.
Assign the Evaluation Type
An evaluation type must be assigned to a user before an evaluator is assigned.
Note: If a user is not evaluated in the system, skip to Send an Invitation below.
Access Path: Evaluations > CONFIG > Evaluation Assignments
Single User Assignment
- Locate your new user in the list of names. Double-click on the row of the new user OR select the pencil icon.
- Select the Evaluation Type from the drop-down menu.
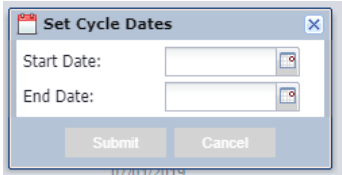
- Enter a Start Date and End Date.
Click Update to save!

Mass Assign (to multiple users) an Evaluation Type and/or Set Cycle Dates
Mass assign an evaluation type: Select the users with the common evaluation type by checking the box next to their name and select “Set Evaluation Types”. Select the appropriate evaluation type from the drop-down menu and click “Submit”.
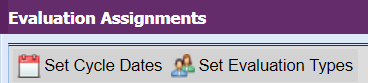
Mass Set Cycle Dates: Select the users with the common evaluation type by checking the box next to their name and select “Set Cycle Dates”. Select the desired Start Date and End Date. Click “Submit”.
NOTES:
- Be sure that the evaluation type has components/forms assigned in the District Process.
- A user will not appear in Process View until the Start Date.
- The Start Date must be on or after the current date.
- Evaluation types should not be changed after the start of the year and information is entered. All entered data will no longer be available.
Assign Evaluation Rights
Access Path: Evaluations > Components > Evaluation Rights
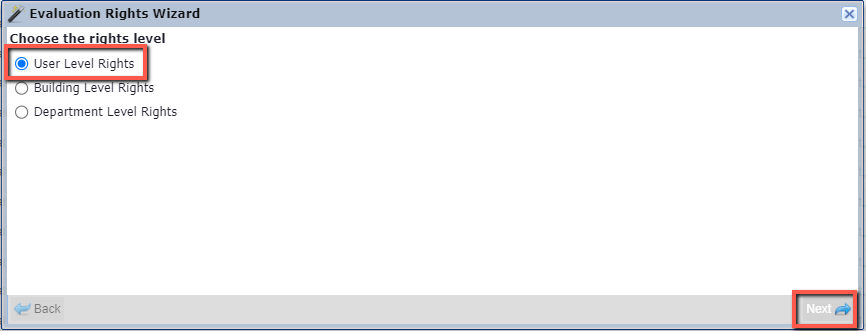
- Click on the green "Add Evaluation Rights" button.

- Select rights level (usually User Level Rights). Click "Next" in the bottom right corner.
- Choose the Administrator who will be responsible for the evaluation of the user you are adding. Search for the last name of the administrator or scroll through the list. Click "Next" in the bottom right corner.
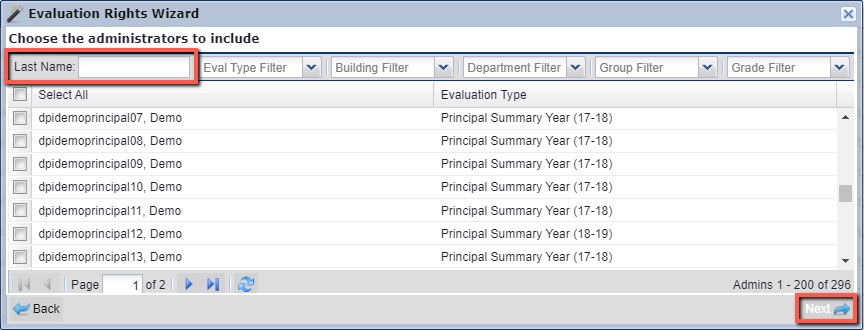
- Choose the User(s) by searching for the last name at the top or scrolling through the list and selecting the box to the left of the name. Click "Next" in the bottom right corner.

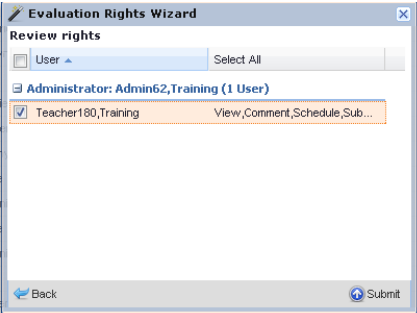
- Select the evaluation rights to include for the evaluator (usually “Select All”). Select "Next" in the bottom right corner.
- The next screen summarizes your selections. If correct - Click on "Submit" in the bottom right corner.
NOTE: If an administrator already has rights defined for a specific user, any new rights will overwrite the existing rights. “Super Admin” rights surpass any assigned Evaluation Rights.
Want to assign the new user's forms to the evaluator? See “Assign Forms Using Detail View”
Is the New User an Administrator/Evaluator?
If the new user is an administrator, follow the instructions below to add Admin Rights. If not, skip to Send an Invitation below.
Access Path: Evaluations > CONFIG > Admin Rights
- Click on “Add Admin Rights” (green circle)
- Follow the “Wizard” selecting “User Level Rights” (You can select multiple administrators.)
- Select “Next”
- Select desired rights:
Platform Administrator: Select All
All other administrators: "View Historical Data" and "Report Writer" - Select “Next”
- Admin Rights Wizard will review the rights chosen and for who. If selections appear correct, select “Submit”.

Note: New building administrators should also be assigned to building(s) and evaluator access to the educators with whom they will conduct evaluations.
See: Assign / Delete an Administrator to a Building and Assign Evaluation Rights
Send an Invitation
The user(s) will require an invitation email to create/activate an account. The user will receive an email from Frontline inviting them to “Create a New Frontline ID" or “Sign in with an existing Frontline ID” (if they already have one).
Access Path: Administration > Manage User Access
- Search & Select
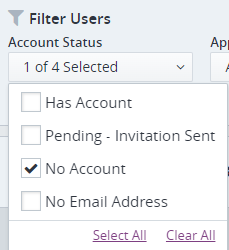
- Multiple Invitations: Use the filter options at the top of the page to locate the user(s) in question. Helpful filter options: Click on “Account Status” filter and select “No Account” and “Application Status” filter select “Granted”.
- Single Invitation: Search for the user by name using the “Find User” box.
- Multiple Invitations: Use the filter options at the top of the page to locate the user(s) in question. Helpful filter options: Click on “Account Status” filter and select “No Account” and “Application Status” filter select “Granted”.
- Once a user or users have been selected:
- Multiple Users/Invitations: Find Bulk Change Users button at top right of section and select the drop-down to display options. Select “Send Account Invitation….”. The system confirms the selection(s). Select the “Send Invitations” button. Once the user signs into the application their Account Status will change to “Access Granted”.
- Single Invitation: Using the “Actions” drop-down to the far right of the user’s name, select “Send account invitation”.
User didn't receive invitation?
If a user does not receive an email invitation, have the user check their spam/junk mail folder. If the problem persists, check the email address that was entered on the PG User Info to verify the email address is entered correctly. Additional issues, email Frontline Support at pgsupport@frontlineeducation.com.