In WISEsecure, DSAs and application administrators can grant users access to WISEhome applications by assigning user roles.
This page covers how to assign user roles for specific applications, as well as how to review user requests for application access.
Click the links below to navigate to different sections of this page:
To learn how to assign user roles for multiple applications at a time, visit the Mass Delegation tool webpage.
Assign User Roles for an Application
Watch a Video:
Running time: 6 min. 13 sec.
Or Follow the Steps Below:
To begin assigning user roles for an application:
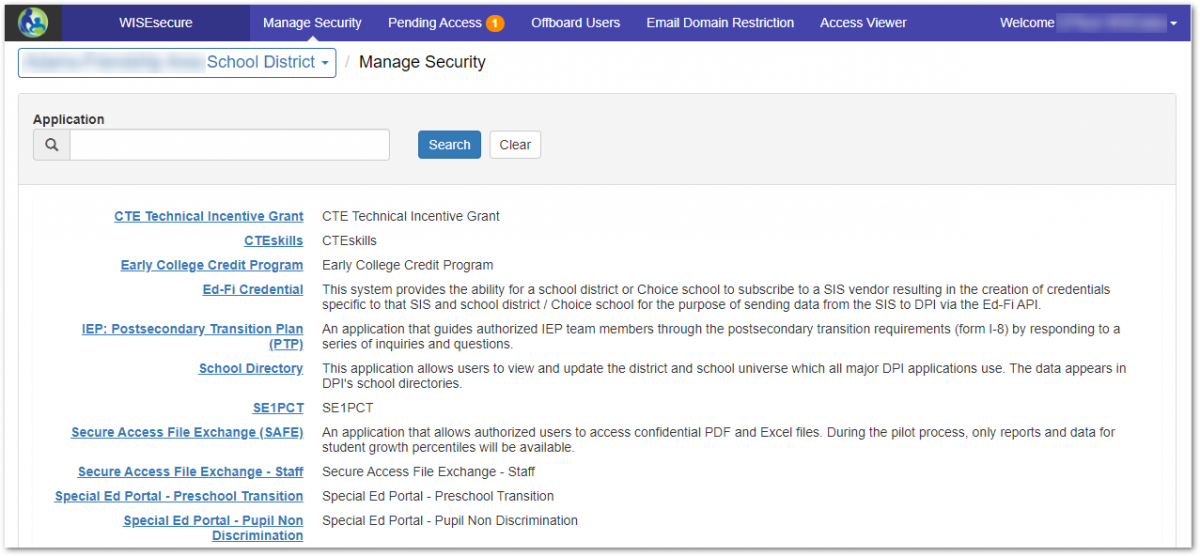
1. Go to the Manage Security page in WISEsecure.
2. Click the link for the application you want to assign security for to open the user role assignments page for that application.
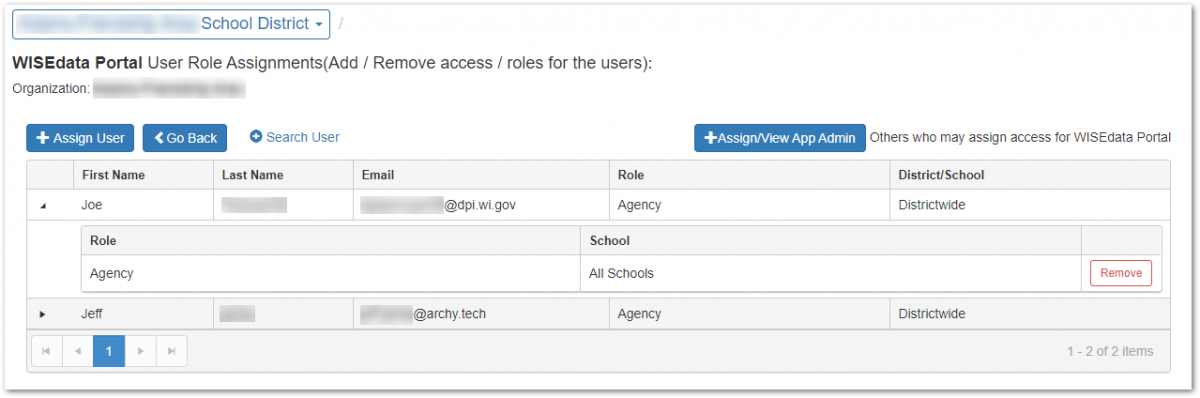
3. On the user role assignments page, you'll see a list of users and their roles for the application. To add a new user, click Assign User.
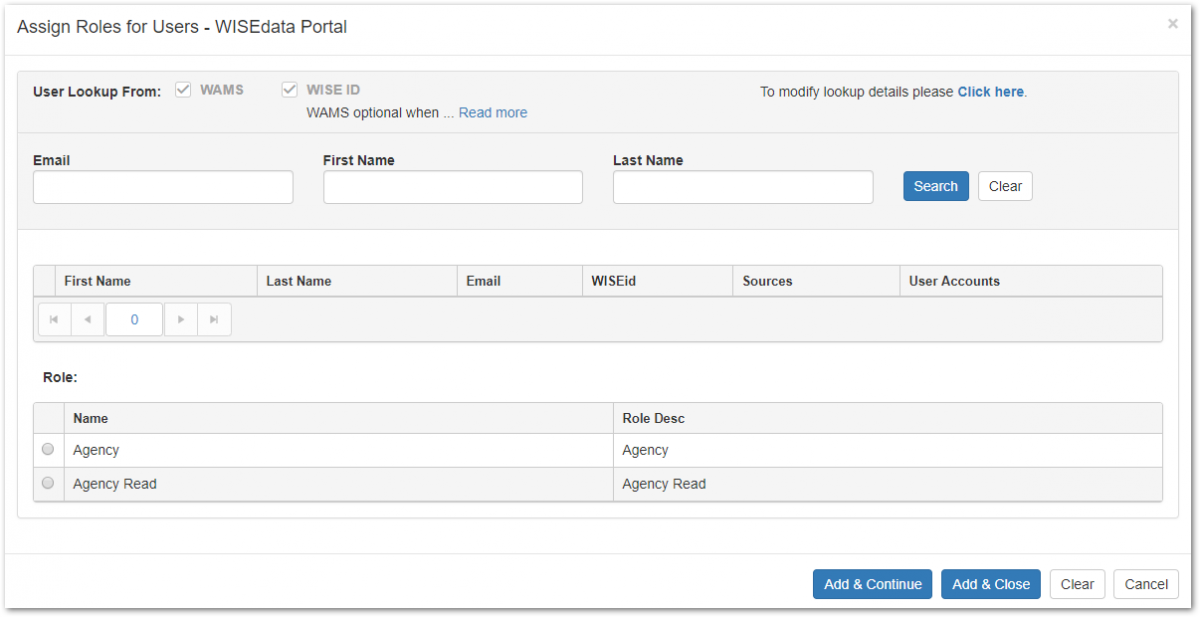
4. Search for the user you want to assign a role for by Email or by searching with their First and Last Names.
5. When you find the user you're looking for, select the role you want to assign in the Role table by clicking the circle to the left of the role.
6. Click Add & Continue to leave the form open and assign another user a user role, or click Add & Close to save your changes and close the form.
Assigning the Role of Application Administrator
Watch the video:
Running time: 4 min. 51 sec.
Or Follow the Steps Below:
As a DSA, you can assign other users as administrators for specific applications. Application administrators can assign user roles and manage access requests for specific applications. To assign an administrator for a specific application:
1. Go to the Manage Security page in WISEsecure.
2. Click the link for the application you want to assign an administrator for to open the user role assignments page for that application.
3. On the user role assignments page, you'll see a list of users and their roles for the application. To add an application administrator, click Assign/View App Admin.

4. On the Assign/View App Admin page, you can see a list of users designated as administrators for the application. On this list, you can remove an application administrator by clicking Remove. To add a new administrator, click Add Application Admin.
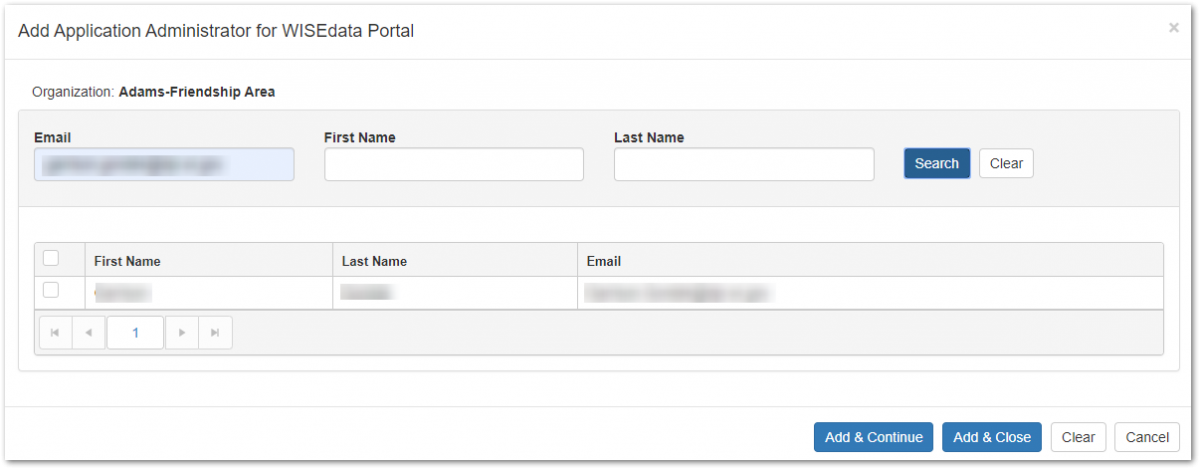
5. On the Add Application Administrator form, you can search for the user you want to assign as an administrator for by Email or by searching with their First and Last Names.
6. When you've found the user, select the check box in the user's row, then select Add & Continue to assign them as an administrator but keep the form open, or Add & Close to assign them as an administrator and close the form.
Review User Access Requests
Users can request access to an application through WISEhome. To review and manage users' access requests:
1. Go to the Pending Requests page in WISEsecure.
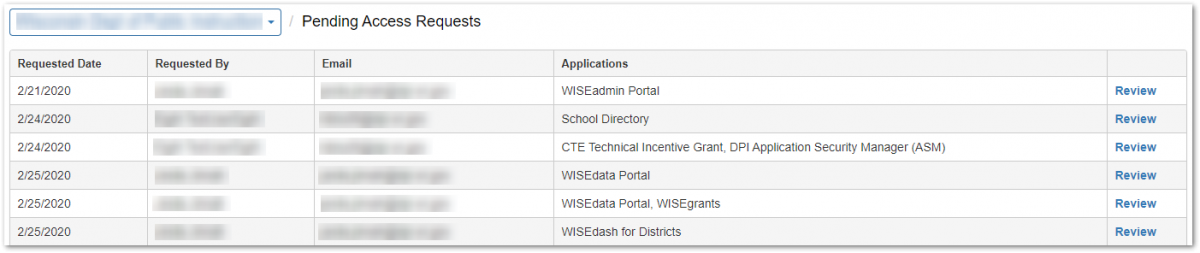
2. On the Pending Requests page, you'll see a list of user requests for access to an application. Click Review in the rightmost column to open the Review Access Requests page and see the details of a specific request.
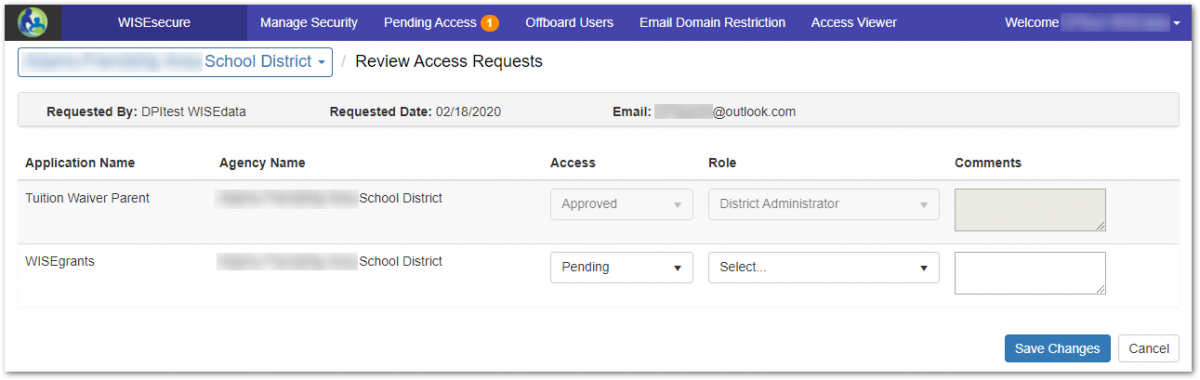
3. On the Review Access Requests page, you can respond to each access request from the user. To approve a request, select Approved in the Access column and select a user role in the Role column. To deny a request, select Rejected in the Access column.
4. Optionally, enter Comments to let the user know why you've approved or rejected a request.
5. Click Save Changes to apply the changes you've made and close the form.